[ English | русский | Deutsch | Indonesia | English (United Kingdom) ]
Managing instances
This chapter describes how to create and access instances.
Creating an instance using the Dashboard
Using an image, create a new instance via the Dashboard options.
Log into the Dashboard, and select the admin project from the drop down list.
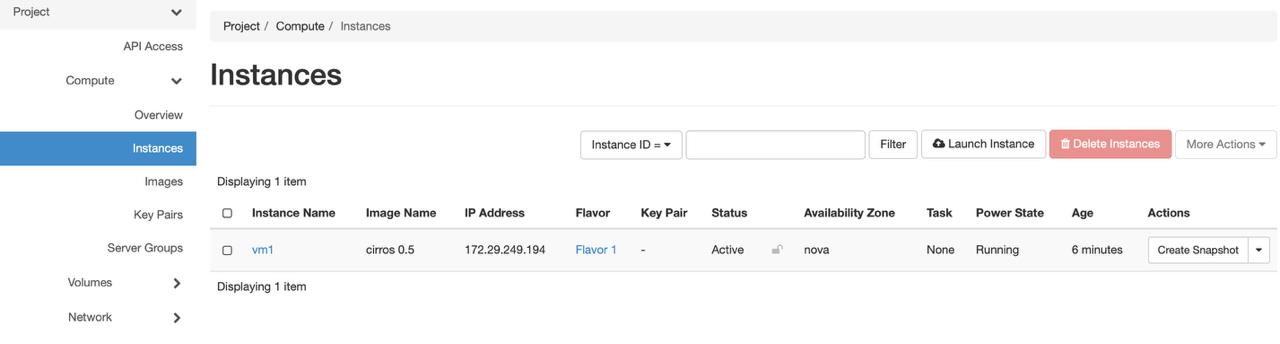
On the Project tab, open the Instances tab and click the Launch Instance button.
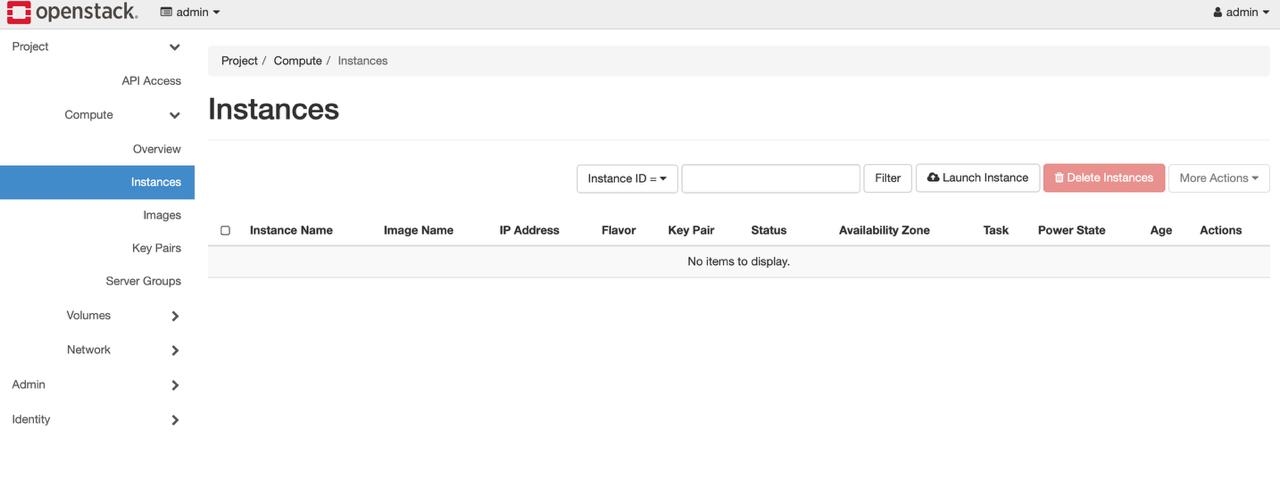
Figure Dashboard — Instances tab
Check the Launch Instance dialog, and find the Details tab. Enter the appropriate values for the instance.
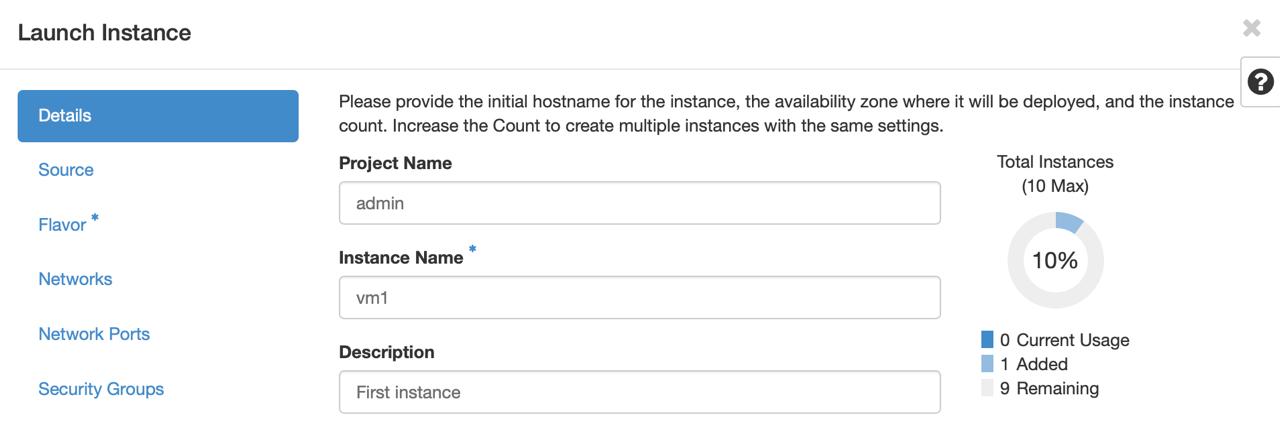
Instance Details
Click the Source. In the Source step, select the boot source: Image, Volume (Volume Snapshot), or Instance Snapshot. If you choose Image, pick the desired OS or custom image from the list to boot your instance. Volume option will only be available if Block Storage service (cinder) is enabled.
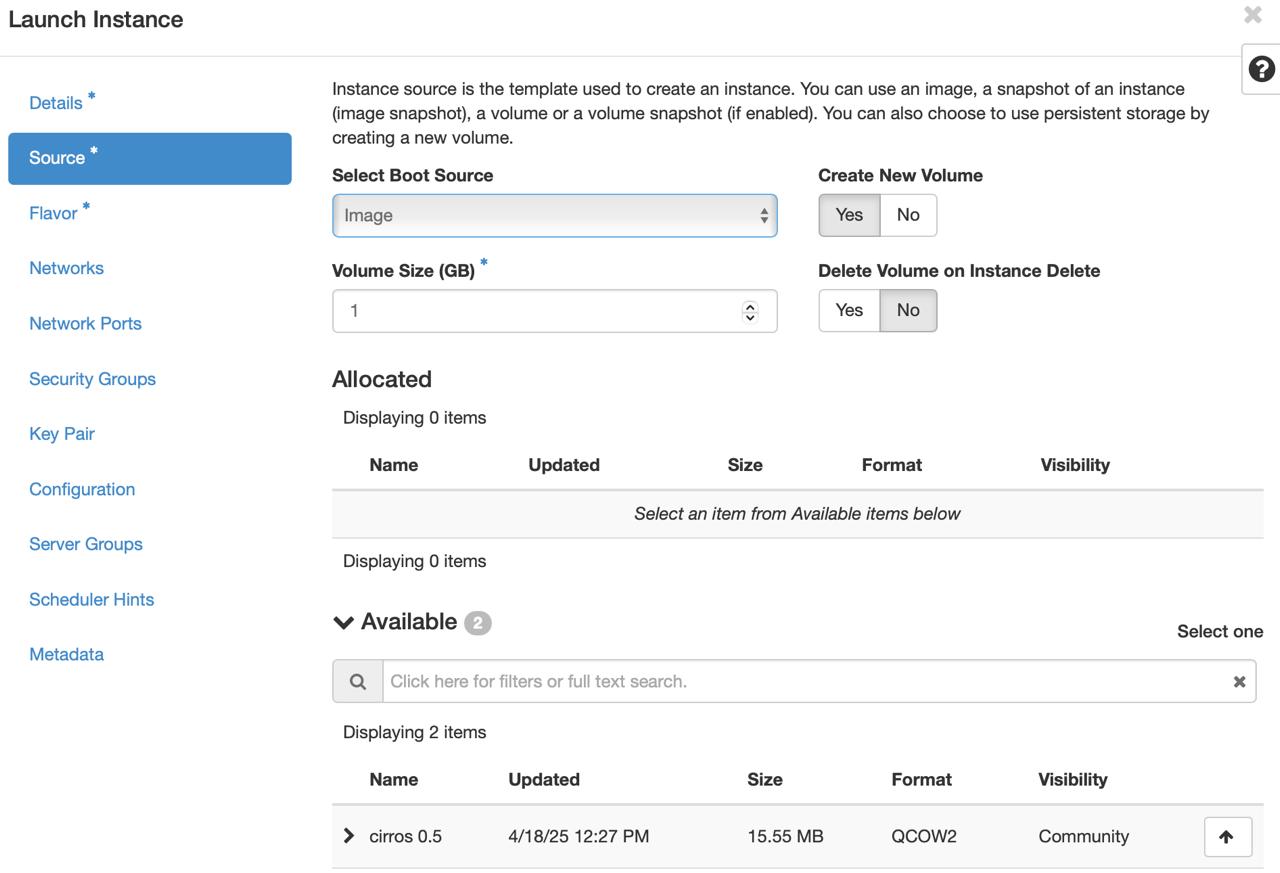
Instance Source
For more information on attaching Block Storage volumes to instances for persistent storage, see the Managing volumes for persistent storage section below.
In the Launch Instance dialog, click the Flavor tab and select the prefered flavor for you instance.
Click the Networks tab. This tab will be unavailable if Network service (neutron) has not been enabled. If networking is enabled, select the networks on which the instance will reside.
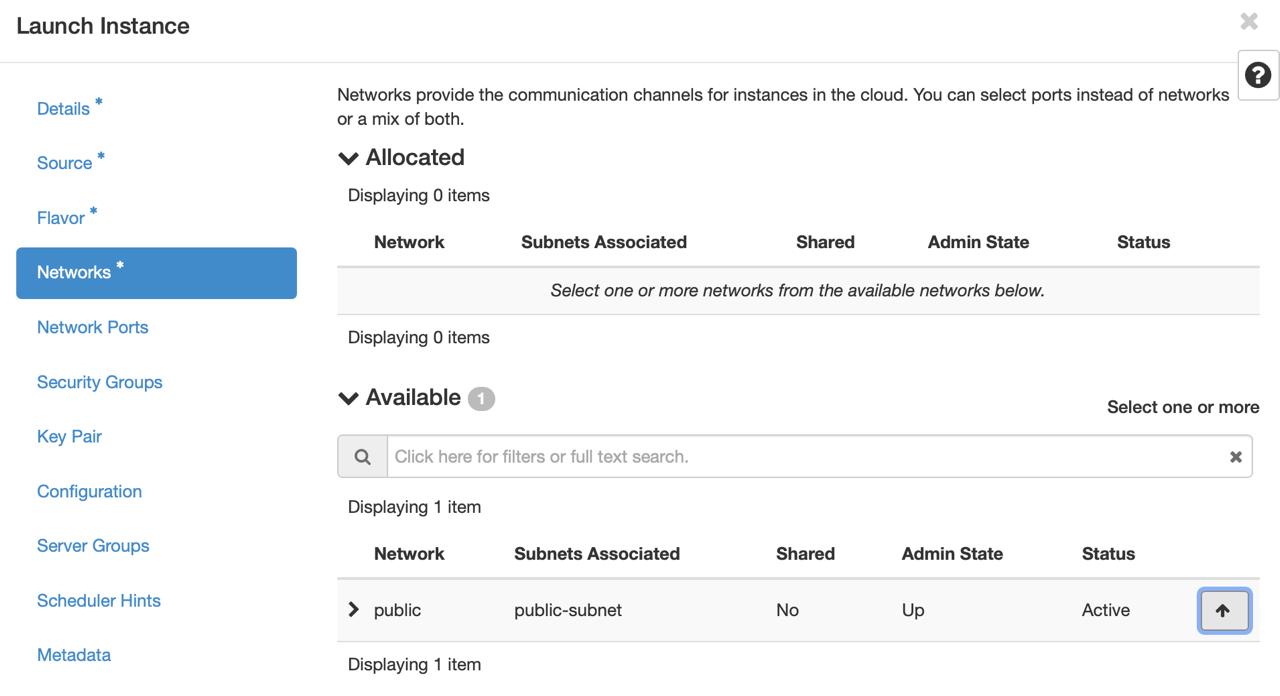
Instance Networks
Click the Keypair tab and select the keypair or create new one.
Click the Security Groups tab and set the security group as “default”.
Add customisation scripts, if needed, by clicking the Configuration. These run after the instance has been created. Some instances support user data, such as root passwords, or admin users. Enter the information specific to the instance here if required.
Click Launch to create the instance. The instance will start on a compute node. The Instances page will open and start creating a new instance. The Instances page that opens will list the instance name, size, status, and task. Power state and public and private IP addresses are also listed here.
The process will take less than a minute to complete. Instance creation is complete when the status is listed as active. Refresh the page to see the new active instance.
Instances Page
Launching an instance options¶ Field Name
Required
Details
Availability Zone
Optional
The availability zone in which the image service creates the instance. If no availability zones is defined, no instances will be found. The cloud provider sets the availability zone to a specific value.
Instance Name
Required
The name of the new instance, which becomes the initial host name of the server. If the server name is changed in the API or directly changed, the Dashboard names remain unchanged
Image
Required
The type of container format, one of
raw,qcow2,iso,vmdk,``vdi`` etc.Flavor
Required
The vCPU, Memory, and Disk configuration. Note that larger flavors can take a long time to create. If creating an instance for the first time and want something small with which to test, select
m1.small.Instance Count
Required
If creating multiple instances with this configuration, enter an integer up to the number permitted by the quota, which is
10by default.Instance Boot Source
Required
Specify whether the instance will be based on an image or a snapshot. If it is the first time creating an instance, there will not yet be any snapshots available.
Image
Required
The instance will boot from the selected image. This option will be pre-populated with the instance selected from the table. However, choose
Boot from Snapshotin Instance Boot Source, and it will default toSnapshotinstead.Security Groups
Optional
This option assigns security groups to an instance. The default security group activates when no customised group is specified here. Security Groups, similar to a cloud firewall, define which incoming network traffic is forwarded to instances.
Keypair
Optional
Specify a key pair with this option. If the image uses a static key set (not recommended), a key pair is not needed.
Networks
Optional
To add a network to an instance, click the Downwards Arrow symbol in the Networks field.
Configuration
Optional
Specify a customisation script. This script runs after the instance launches and becomes active.
Creating an instance using the command line
On the command line, instance creation is managed with the openstack server create command. Before launching an instance, determine what images and flavors are available to create a new instance using the openstack image list and openstack flavor list commands.
Log in to any utility container.
Issue the openstack server create command with a name for the instance, along with the name of the image and flavor to use:
$ openstack server create --image precise-image --flavor 2 --key-name example-key example-instance
+-------------------------------------+--------------------------------------+
|               Property              |                Value                 |
+-------------------------------------+--------------------------------------+
|          OS-DCF:diskConfig          |                MANUAL                |
|         OS-EXT-SRV-ATTR:host        |                 None                 |
| OS-EXT-SRV-ATTR:hypervisor_hostname |                 None                 |
|    OS-EXT-SRV-ATTR:instance_name    |          instance-0000000d           |
|        OS-EXT-STS:power_state       |                  0                   |
|        OS-EXT-STS:task_state        |              scheduling              |
|         OS-EXT-STS:vm_state         |               building               |
|              accessIPv4             |                                      |
|              accessIPv6             |                                      |
|              adminPass              |             ATSEfRY9fZPx             |
|             config_drive            |                                      |
|               created               |         2012-08-02T15:43:46Z         |
|                flavor               |               m1.small               |
|                hostId               |                                      |
|                  id                 | 5bf46a3b-084c-4ce1-b06f-e460e875075b |
|                image                |             precise-image            |
|               key_name              |              example-key             |
|               metadata              |                  {}                  |
|                 name                |           example-instance           |
|               progress              |                  0                   |
|                status               |                BUILD                 |
|              tenant_id              |   b4769145977045e2a9279c842b09be6a   |
|               updated               |         2012-08-02T15:43:46Z         |
|               user_id               |   5f2f2c28bdc844f9845251290b524e80   |
+-------------------------------------+--------------------------------------+
To check that the instance was created successfully, issue the openstack server list command:
$ openstack server list
+------------------+------------------+--------+-------------------+---------------+
|        ID        |       Name       | Status |      Networks     |   Image Name  |
+------------------+------------------+--------+-------------------+---------------+
| [ID truncated]   | example-instance | ACTIVE |  public=192.0.2.0 | precise-image |
+------------------+------------------+--------+-------------------+---------------+
Managing an instance
Log in to the Dashboard. Select one of the projects, and click Instances.
Select an instance from the list of available instances.
Check the Actions column, and click on the down arrow. Select the action.
The Actions column includes the following options:
Resize or rebuild any instance
Attach/Detach Volume
Attach/Detach Interface
View the instance console log
Edit the instance
Edit security groups
Pause, resume, rescue or suspend the instance
Soft or hard reset the instance
Note
Delete the instance under the Actions column.
Managing volumes for persistent storage
Volumes attach to instances, enabling persistent storage. Volume storage provides a source of memory for instances. Administrators can attach volumes to a running instance, or move a volume from one instance to another.
Instances live migration
Nova is capable of live migration instances from one host to a different host to support various operational tasks including:
Host Maintenance
Host capacity management
Resizing and moving instances to better hardware
Nova configuration drive implication
Depending on the OpenStack-Ansible version in use, Nova can
be configured to force configuration drive attachments to instances.
In this case, a ISO9660 CD-ROM image will be made available to the
instance via the /mnt mount point. This can be used by tools,
such as cloud-init, to gain access to instance metadata. This is
an alternative way of accessing the Nova EC2-style Metadata.
To allow live migration of Nova instances, this forced provisioning of the config (CD-ROM) drive needs to either be turned off, or the format of the configuration drive needs to be changed to a disk format like vfat, a format which both Linux and Windows instances can access.
This work around is required for all Libvirt versions prior 1.2.17.
To turn off the forced provisioning of and change the format of the
configuration drive to a hard disk style format, add the following
override to the /etc/openstack_deploy/user_variables.yml file:
nova_nova_conf_overrides:
  DEFAULT:
    config_drive_format: vfat
    force_config_drive: false
Tunneling versus direct transport
In the default configuration, Nova determines the correct transport
URL for how to transfer the data from one host to the other.
Depending on the nova_virt_type override the following configurations
are used:
kvm defaults to
qemu+tcp://%s/systemqemu defaults to
qemu+tcp://%s/system
Libvirt TCP port to transfer the data to migrate.
OpenStack-Ansible changes the default setting and used a encrypted SSH connection to transfer the instance data.
live_migration_uri = "qemu+ssh://nova@%s/system?no_verify=1&keyfile={{ nova_system_home_folder }}/.ssh/id_rsa"
Other configurations can be configured inside the
/etc/openstack_deploy/user_variables.yml file:
nova_nova_conf_overrides:
  libvirt:
    live_migration_completion_timeout: 0
    live_migration_progress_timeout: 0
    live_migration_uri: "qemu+ssh://nova@%s/system?keyfile=/var/lib/nova/.ssh/id_rsa&no_verify=1"
Executing the migration
The live migration is accessible via the nova client.
nova live-migration [--block-migrate] [--force] <uuid> [<host>]
Examplarery live migration on a local storage:
nova live-migration --block-migrate <uuid of the instance> <nova host>
Monitoring the status
Once the live migration request has been accepted, the status can be monitored with the nova client:
nova migration-list

+-----+------------+-----------+----------------+--------------+-----------+-----------+---------------+------------+------------+------------+------------+-----------------+
| Id | Source Node | Dest Node | Source Compute | Dest Compute | Dest Host | Status    | Instance UUID | Old Flavor | New Flavor | Created At | Updated At | Type            |
+----+-------------+-----------+----------------+--------------+-----------+-----------+---------------+------------+------------+------------+------------+-----------------+
| 6  | -           | -         | compute01      | compute02    | -         | preparing | f95ee17a-d09c | 7          | 7          | date       | date       | live-migration  |
+----+-------------+-----------+----------------+--------------+-----------+-----------+---------------+------------+------------+------------+------------+-----------------+
To filter the list, the options --host or --status can be used:
nova migration-list --status error
In cases where the live migration fails, both the source and destination compute nodes need to be checked for errors. Usually it is sufficient to search for the instance UUID only to find errors related to the live migration.
Other forms of instance migration
Besides the live migration, Nova offers the option to migrate entire hosts in a online (live) or offline (cold) migration.
The following nova client commands are provided:
host-evacuate-liveLive migrate all instances of the specified host to other hosts if resource utilzation allows. It is best to use shared storage like Ceph or NFS for host evacuation.
host-servers-migrateThis command is similar to host evacuation but migrates all instances off the specified host while they are shutdown.
resizeChanges the flavor of an instance (increase) while rebooting and also migrates (cold) the instance to a new host to accommodate the new resource requirements. This operation can take considerate amount of time, depending disk image sizes.
